

I’ve been teaching coding for over six years, and while it’s an exciting and powerful skill, I’ve seen firsthand how it can also feel intimidating or overwhelming for many students. That’s why I created this guide: to show how the Unity game engine can be used to teach core computer science concepts in a way that truly connects with creative, curious young minds, by letting them learn while having fun.
What You’ll Need to Get Started
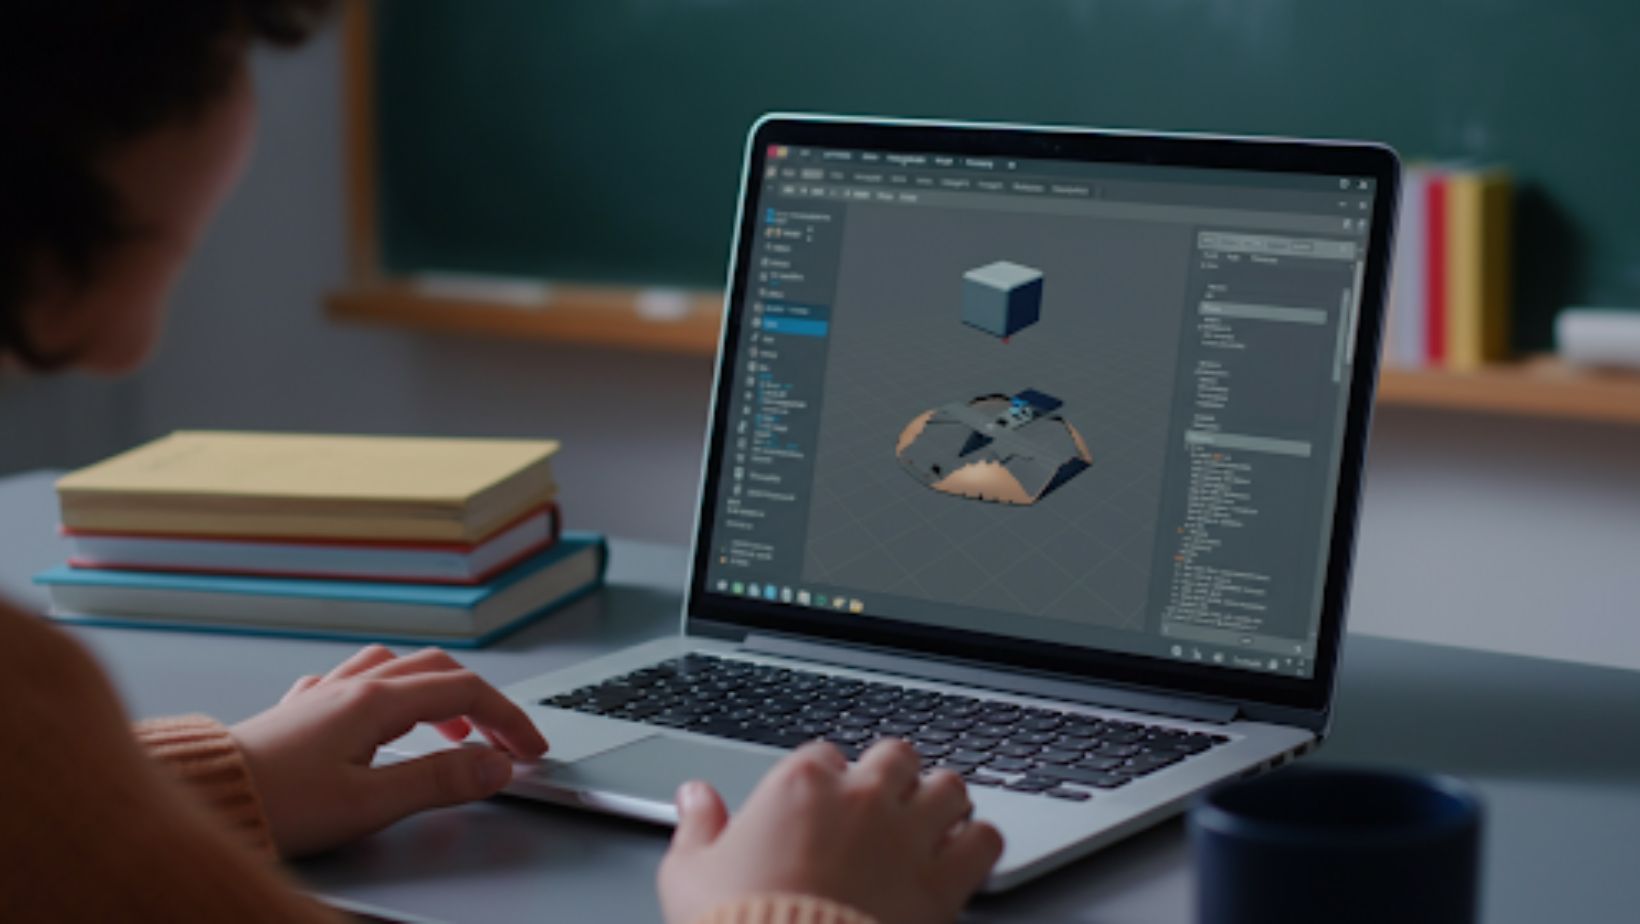
“Ideal for teachers or parents with no coding background”
We will use Unity Hub, Unity Editor, and Microsoft Visual Studio Community. This guide assumes no prior experience with any of these tools. However, the software will need to be installed on a compatible device, and an email address will be needed to sign in to Unity.
Connor Fahrenwald – Coding, Online Math Tutor and Author at Learner says: While other game engines are out there, such as Unreal Engine or Gamemaker Studio, these engines often have the user working through different “drag and drop” systems. For example, Gamemaker Studio provides the user with various preconstructed behaviors to be applied to objects in the scene. It makes Gamemaker Studio great for introducing students to concepts of game design in general, so if a student doesn’t need as much focus on coding, it may be a good place to start. Conversely, Unreal Engine turns scripts into nodes, which must then be interconnected through a component called a blueprint. It adds more complexity to Unreal Engine, which can make it less user-friendly for new developers. As this project aims to introduce coding concepts through game design, we will use Unity Engine, which relies more heavily on directly editing the code through an IDE (Integrated Development Environment), specifically Visual Studio. This will allow the student to get some hands-on experience with the coding process while giving us some visibly impressive results much faster than using code alone would allow.
So, we will start with the boring part: installations, ugh. Depending on your situation, you may want to do this part before involving the student. However, if students are going to be working on their computers, then you will want to do what you can to walk them through the process. Fortunately, Unity Hub makes it fairly straightforward to find the other resources so that we can start with it.
Unity Hub
Unity Hub is free to download on the Unity.com website. You’ll want to be sure that the device your student will be using meets the system requirements. Please be aware that the Unity Editor will not function on a strictly mobile device, though a laptop should be acceptable. Download the UnityHubSetup.exe file, then open it to begin the setup process. You’ll need to agree to the Terms of Service. Install in Program Files, which will be the default location. Close the installer and run Unity Hub. You will be directed to choose a Unity license at this point, but don’t worry. A Personal license is completely free and will cover everything you will need for this project.
Unity Editor
If the Unity Editor doesn’t start to install automatically, click the “Installs” tab on the left of the Unity Hub window, then click “Install Editor” in the upper right corner of the window. From the options that appear, install the recommended version. When writing this article, the recommended version is Unity 6 (6000.0.42f1).
Microsoft Visual Studio Community
At this point, you will be shown a list of modules that you can include in the install. By default, the option “Microsoft Visual Studio Community” under Dev Tools should be selected already. Don’t worry about the others, Visual Studio is the only module we will need here. Ensure it is selected and continue. Agree to Visual Studio’s Terms of Service and install. This install may take a while. Towards the end of the installation, you’ll be shown a list of workloads that you can install. Scroll down to “Game Development with Unity” under “Gaming,” make sure it’s selected, then click “Install” in the bottom right corner of the window.
Step-by-Step Setup
Create a new project in Unity Hub. Choose Universal 3D and click “Create Project.”

Adding Objects to Your Scene
Upon starting a project, you will be given a sample scene. Under “Sample Scene” in your hierarchy, the tab docked on the left of the window, if you’re using the default layout, should show three objects listed. These objects are the Main Camera, Directional Camera, and Global Volume, all of which can be left as they are. Right-click beneath these objects in the Hierarchy to open the Game Object menu. From this menu, we can add objects to the scene. Hover over “3D Objects,” and a list of three-dimensional geometric shapes will appear. From here, add two cubes and a plane to the scene.
Editing Objects in the Inspector
Left-click the first cube you added to the scene, and details regarding it will be displayed in the far right portion of the window within the tab labeled “Inspector.” Using the inspector, we will be making some changes to this cube. For starters, rename the cube to “Runner,” as this will be the player’s avatar in our running game. Next, we will want to ensure that the Runner is in the exact center of the scene. To do this, look at the first component listed under the object’s name, called the Transform, which represents the object’s position, rotation, and scale within three-dimensional space. Click the gear icon in the top right of the Transform component to bring up a menu from which you will select “Reset.” This will reset the object’s position to the global center of the scene: (0, 0, 0). Finally, scroll down to the bottom of the Inspector and click “Add Component.” In the search bar that appears, type “Rigidbody” and add said component to the object.
Next, select the second cube and rename it “Trap,” as this will function as the trap our player must avoid. We will want to alter the object’s position. First, reset its position as you did with Runner, then set the x value of the position to 15. At this point, the position should read as: (15, 0, 0), and the Trap should be past the edge of the screen in “Game View.” Next, in the component called “Box Collider,” check the box labeled “Is Trigger.” Lastly, add a Rigidbody component like before.
Now, we will make some quick adjustments to our plane. Don’t worry about adding components to this one. This will be a static object to serve as the floor of our scene. Simply go into the Transform, change the y value of position to -0.5, and the x value of scale to 5, so it looks like this:
Transform
Position: 0, -0.5, 0
Rotation: 0, 0, 0
Scale: 5, 0, 0
In the Game View, the plane should be resting at the bottom of the cube that represents our runner, and should stretch past the edges of the left and right sides of the screen. It should look vaguely like a single box sitting on a long road.
Building User Interfaces with Canvas
Before moving on to the code, let’s tackle one last thing that will eventually come up. The Game Over screen. For that, we will need a Canvas, a special object that focuses on displaying objects on the player’s screen, or UI (User Interface), instead of in three-dimensional space. We add a Canvas just like we did our shapes. Right-click in the Hierarchy, and navigate to UI>Canvas. Next, we will add a Button, which will also be listed under UI. When we add the button to the scene, it will automatically become a “child” of the canvas, causing it to be displayed in the dead center of the screen, but only in Game View.
Go ahead and click on that button in the Hierarchy, then in the Inspector, change its name to Game Over. Then click the little arrow next to the button in the Hierarchy. This will reveal another object that was automatically created as a child of our button. This object is called “Text” by default. Click on it, and in the Inspector, go to the Text component of the object, where there will be an empty text box for you to type in. Type the phrase: “Try Again?” inside this box. Now the words “Try Again?” will be displayed in the center of the button as it appears in the Game View. Now reselect the Game Over button in the Hierarchy, and in the Inspector, uncheck the box next to its name. This disables the object, ensuring it won’t be visible immediately upon starting the game.
Creating a C# Script in Assets
Now look at the bottom of the Editor in the tab labeled “Assets.” This is where we will keep assets that we will be working on externally. Right-click in the Assets tab and navigate to Create>Coding>New Mono Behavior. Name this first-script “Trap,” Now Create another Mono Behavior and name it “Runner”. Next, right-click on each of them and click “Open” to open them in Visual Studio.
Your First Script Edit in Visual Studio

For starters, we will write the Trap behavior script, as it’s pretty straightforward, literally. The script will tell the Trap to move in a straight line until it has crossed the entire screen, then jump back to its original position. Meaning every trap that our runner will be jumping is actually the same trap looped indefinitely. The Trap: Mono Behavior should read as follows (The green text represents comments, which are for the user’s understanding, not part of the code itself):
using UnityEngine; //Unity Engine features that we will be using below.
public class Trap : MonoBehaviour
{
public float speed = 10f; //Variable allowing us to adjust the object’s speed in the Unity Editor.
void FixedUpdate() //Built-in Unity function that is called repeatedly throughout the entire game.
{
transform.Translate(-speed * Time.deltaTime, 0, 0); //Moves the object to the left at a consistent rate.
if (transform.position.x < -15) //Checks if the object has crossed the whole screen.
transform.Translate(30, 0, 0); //Moves the object back 30 units.
}
}
Reimporting and Applying the Script
Once the script has been typed up, you can save it and tab back over to the Unity Editor, where the latest version of the script will be automatically imported into your Assets. Once it has, simply drag and drop the script from your Assets onto the Trap object in your Hierarchy. This will cause it to appear as a component of the object in the Inspector.
At this point, you can Run the game by clicking the Play button at the top of the screen. If all has been done correctly, the Trap cube should slide from the right of the screen to the left, then reappear back at the start before beginning to slide again. If the Trap doesn’t move as expected or the game does not run, then it’s time to do some debugging.
Debugging
Now when it comes to debugging, we have two resources to turn to. In the Unity Editor, a list of errors or warnings regarding possible issues with your code will be listed in a window that can be viewed by clicking the most recent error, which will be displayed at the bottom of the screen. Additionally, back in Visual Studio, the IDE’s built in intelli-sense will display a red underline under any code with inaccurate syntax. Syntax is like the grammar of coding, and if there are syntax errors in your code, it likely won’t run at all.
Using Multiple Scripts
Once our Trap script is functioning properly, we can start working on our Runner script. To start things off, let’s add some interactivity to our game, the ability to jump!
using UnityEngine; //Unity Engine features that we will be using below.
using UnityEngine.SceneManagement; //Scene Management features that we will be using later on.
public class Runner : MonoBehaviour
{
Rigidbody m_Rigidbody; //Variable we will use to represent the rigidbody component attached to the object.
public float force = 300f; //Variable allowing us to adjust the object’s jump force in the Unity Editor.
void Start()
{
m_Rigidbody = GetComponent<Rigidbody>(); //Fetches the rigidbody component.
}
void FixedUpdate()
{
if (Input.GetButton(“Jump”) && m_Rigidbody.linearVelocity.Equals(new Vector3 (0, 0, 0))) //Player input.
{
m_Rigidbody.AddForce(transform.up * force); //Adds jump force.
}
}
}
With this script imported to our Assets and attached to our Runner object, the player should be able to jump over the trap by pressing the Spacebar with careful timing. Already we can see the bulk of our game, but to make things more interesting, we should add some consequences for failing to jump the trap. Go back into Visual Studio and add the following changes:
using UnityEngine;
using UnityEngine.SceneManagement;
public class Runner : MonoBehaviour
{
Rigidbody m_Rigidbody;
public float force = 300f;
public GameObject retryButton; //Variable we will use to represent the Game Over screen button.
void Start()
{
m_Rigidbody = GetComponent<Rigidbody>();
}
void FixedUpdate()
{
if (Input.GetButton(“Jump”) && m_Rigidbody.linearVelocity.Equals(new Vector3 (0, 0, 0)))
{
m_Rigidbody.AddForce(transform.up * force);
}
}
void OnCollisionEnter(Collision collision) //Built-in Unity function that is called when a collision is detected.
if (collision.gameObject.name == “Trap”) //Checks if the collision is with our trap.
{
Time.timeScale = 0; //Freezes the scene.
retryButton.SetActive(true); //Displays the Game Over screen.
}
}
public void Retry() //Our own function that we will allow the player to call via button press.
{
Time.timeScale = 1; //Unfreezes the scene.
string currentSceneName = SceneManager.GetActiveScene().name; //Gets the scene’s name.
SceneManager.LoadScene(currentSceneName); //Reloads the scene.
}
}
Now, tab back to the Unity Editor, and in the Runner script component on our Runner object, there should be a place for another object to be indicated. Drag and drop the Game Over button from the Hierarchy into this slot. Then, examine the Game Over object in the Inspector and scroll down to the button component. Add a function to this component and select the Runner object, then the Runner script, and then the “Retry” function.
When running the game, it should continue until the player runs into a trap, at which point it will ask the player to try again, and upon confirming, the game will reset.
Ready for More? Here’s How to Take It Further
You can build upon this simple game by making your changes. Maybe you could have the trap’s speed increase over time. Or create a health variable so the player can take multiple hits before resetting. Perhaps create a high-score system! But if you want to expand your palette, there are lots of other resources available.
In-House Unity Tutorials
There are plenty of tutorials available on the Unity website. Many of them come with free assets and premade scenes that let you jump right into the lesson. Many other free assets in the Unity Asset Store allow experimentation and sandbox-style learning.
Other Free Compatible Applications
You may also be interested in looking into other free resources compatible with the project you’ve just created.
Paint.net
Paint.net is an improved version of Windows Paint that allows you to use and edit transparent, multi-layered images. It’s great for creating sprites or textures for your game!
Blender
Blender is a 3D modeling program that allows you to create your props and characters for your game, as well as rig and animate them.
FL-Studio
FL-Studio lets you create audio, such as music, sound effects, and voice lines. The free version comes with a large number of synthesized instruments and sounds.
Conclusion
Connor Fahrenwald explains: These are all tools that I wish I had discovered sooner, and I’m confident that they could help encourage many computer science students to further their education in programming.
Author: Connor Fahrenwald Coding Tutor At Learner
I’ve been teaching coding for over six years, and while it’s an exciting and powerful skill, I’ve seen firsthand how it can also feel intimidating or overwhelming for many students. That’s why I created this guide: to show how the Unity game engine can be used to teach core computer science concepts in a way that truly connects with creative, curious young minds, by letting them learn while having fun.